 Quick start demo
We will illustrate the powerful features of doc-apis through a simple Demo (opens new window) (we recommend that you download and run it directly). Before we proceed, we assume that you already:
- Have a Java development environment and the corresponding IDE
- Are familiar with Spring Boot (recommended version 2.5.x +)
- Are familiar with Maven
tip tip
Since fastjson is referenced within the framework, if your project already contains fastjson, you need to exclude the fastjson dependency from doc-apis or unify the versions to avoid conflicts that could prevent the proper generation of interface documentation.
# Initializing the Project
Create an empty Spring Boot project.
tip
You can quickly initialize a Spring Boot project using Spring Initializer (opens new window)
# Adding Dependencies
Maven:
<!-- Introduce the latest version of the doc-apis dependency -->
<dependency>
    <groupId>com.doc-apis</groupId>
    <artifactId>doc-apis-starter</artifactId>
    <!-- Here, Latest Version refers to the latest version of the dependency, for example, 2.0.0. You can obtain this information from the following image -->
    <version>Latest Version</version>
    <!-- The following section is optional. If you do not want doc-apis to be packaged into your project, you can also automatically generate the interface documentation by starting the project through the test module -->
    <!--<scope>test</scope>-->
</dependency>
2
3
4
5
6
7
8
9
10
Gradle:
compile group: 'com.docapis', name: 'doc-apis-starter', version: 'Latest Version'
# ✨Latest Version:  (opens new window)
# configuration
If you have a single-module project or modules with a depth <= 1, you do not require any configuration. If your Controller layer is scattered across various modules, you will need to manually add 1 line of configuration:
doc-apis:
  project-path: ${your project module path} # For example, Hutool has multiple modules. If the code exists on the E drive and only the AOP module requires documentation, then configure it to the specific module, e.g., E:\hutool\hutool-aop. If there are multiple modules, separate them with commas.
2
There will be a detailed section later covering all config of doc-apis.
# Getting Started (One-Click Generation)
- Write your Controller interface. If your project already has Controllers, you can skip this step.
/**
 * Example Module
 **/
@RestController
public class SampleController {

    /**
     * Get a paginated list of documents
     *
     * @param docQuery
     * @return
     */
    @PostMapping("/pageListDocs")
    public PageInfo<Document> pageListDocs(@RequestBody DocQuery docQuery) {
        return new PageInfo<>();
    }
}

/**
 * Document
 **/
@Data
public class Document {
    /**
     * Primary key
     */
    private Long id;
    /**
     * Document Title
     */
    private String title;
}

/**
 * Document Query Input Parameter
 */
@Data
public class DocQuery {
    /**
     * Title
     */
    private String title;
    /**
     * Author
     */
    private String author;
    /**
     * Current Page
     */
    private int pageNum;
    /**
     * Number of Items per Page
     */
    private int pageSize;
}
2
3
4
5
6
7
8
9
10
11
12
13
14
15
16
17
18
19
20
21
22
23
24
25
26
27
28
29
30
31
32
33
34
35
36
37
38
39
40
41
42
43
44
45
46
47
48
49
50
51
52
53
54
55
56
57
- Click on your editor (such as IDEA or Eclipse), start the current project, and wait for the console to print xxx done! At this point, you can terminate the project to immediately see that an interface documentation file has been generated in the project's directory, or without terminating the project, wait for some time (the IDEA cache refreshes relatively slowly).
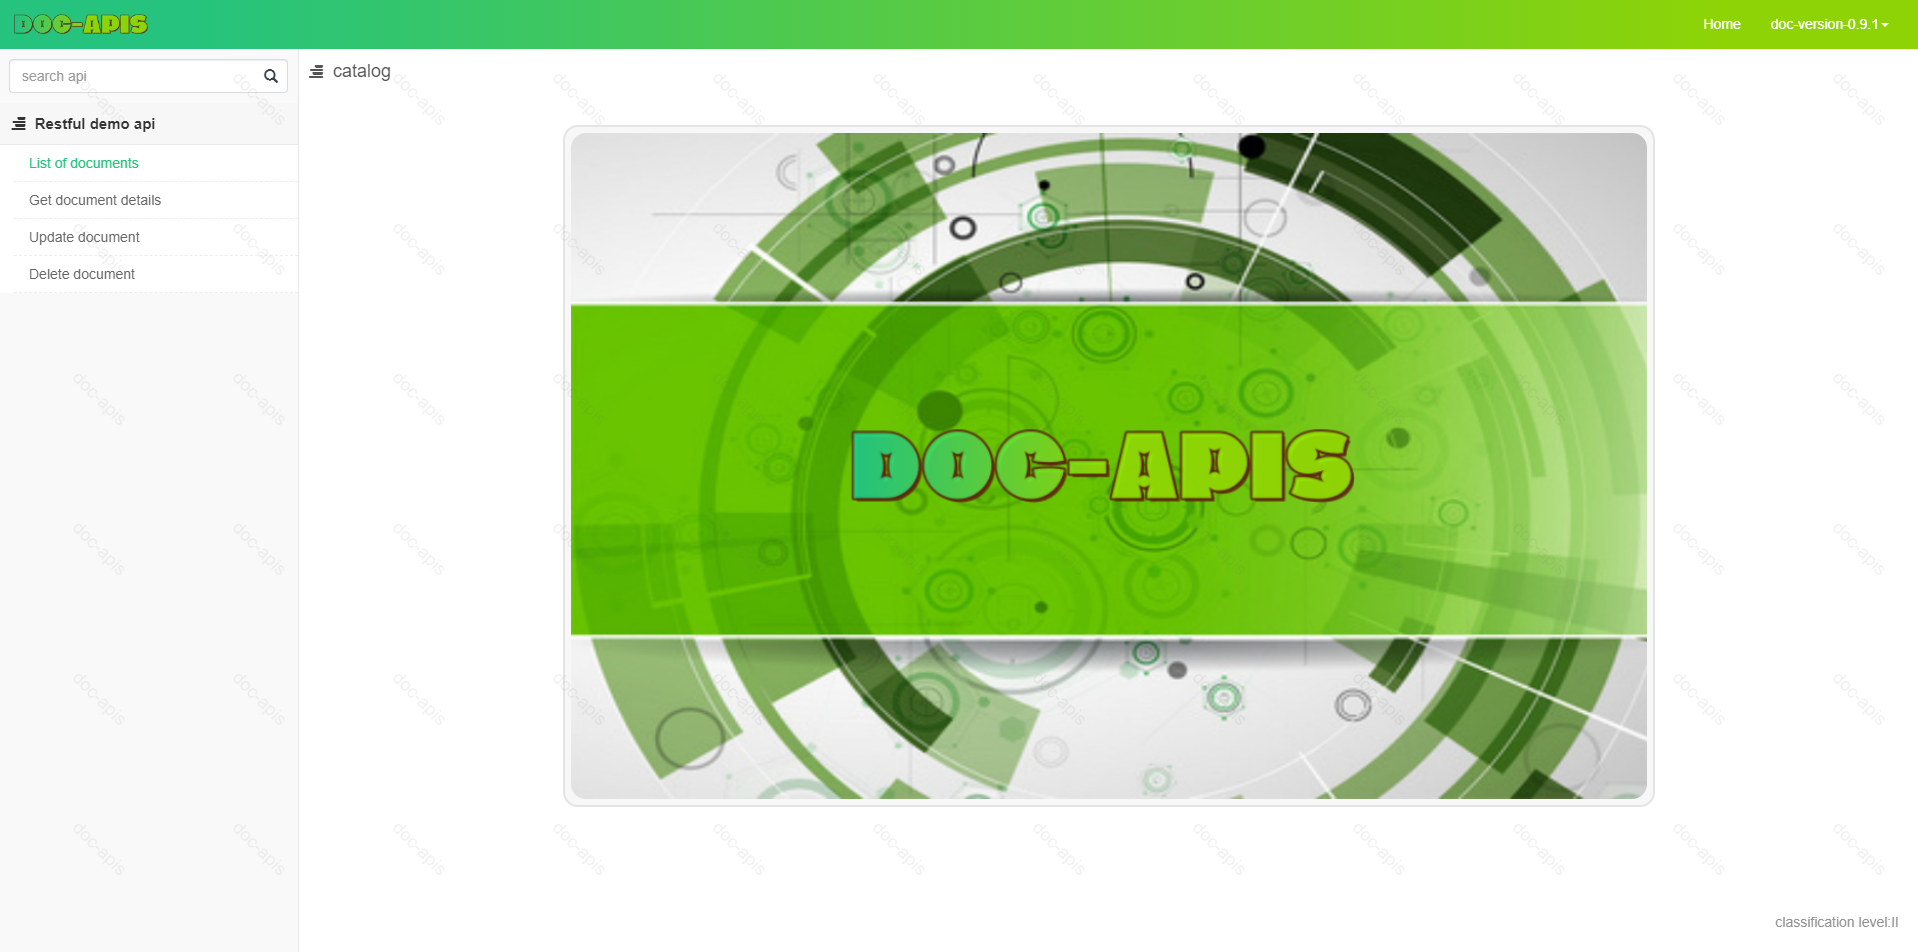
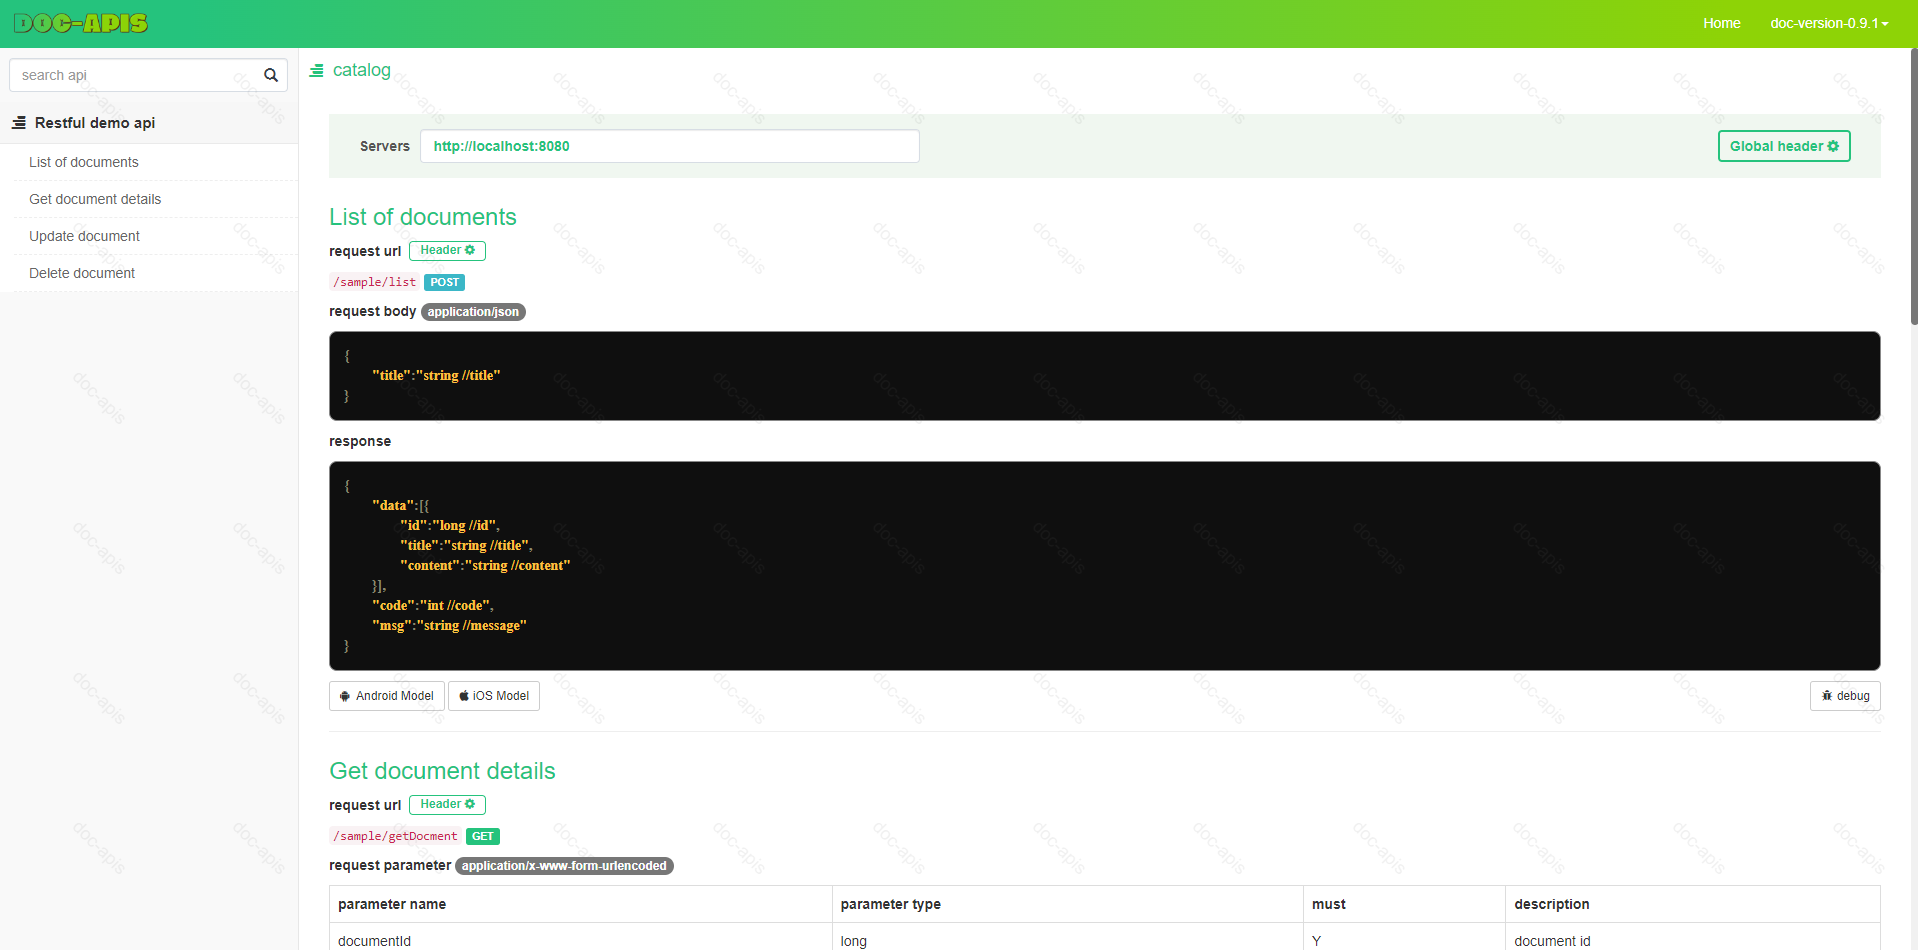
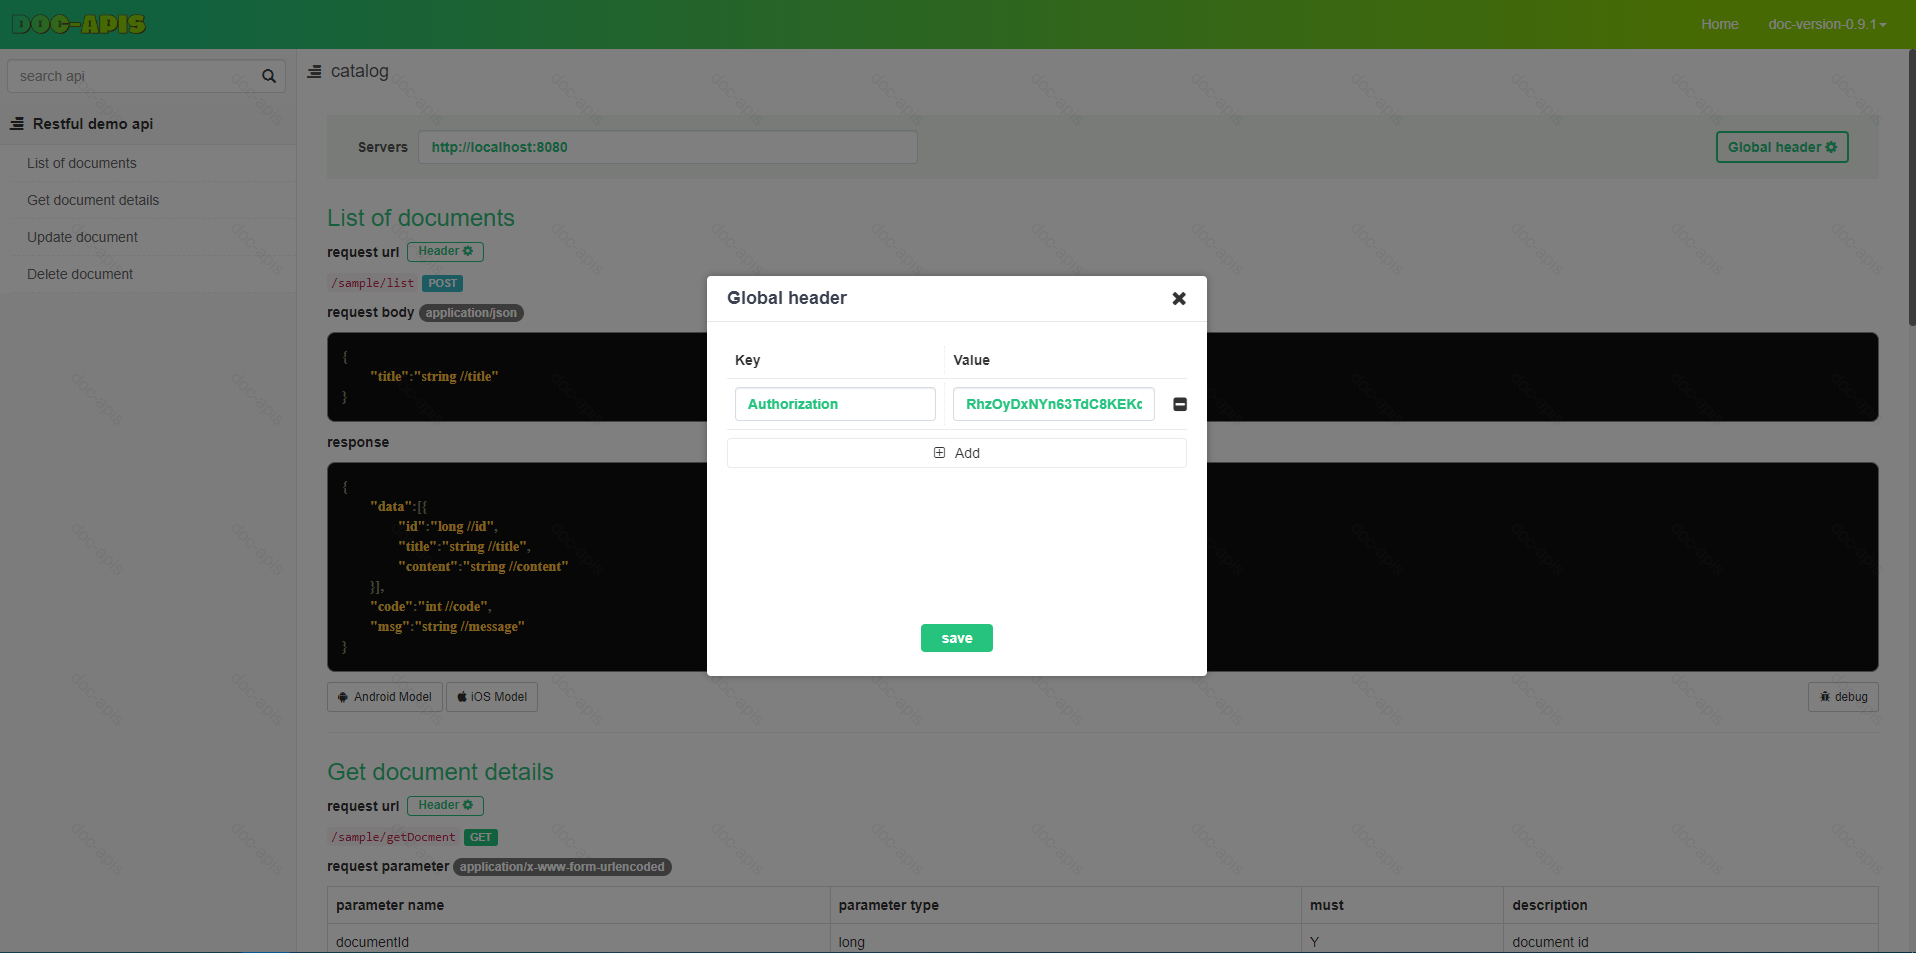
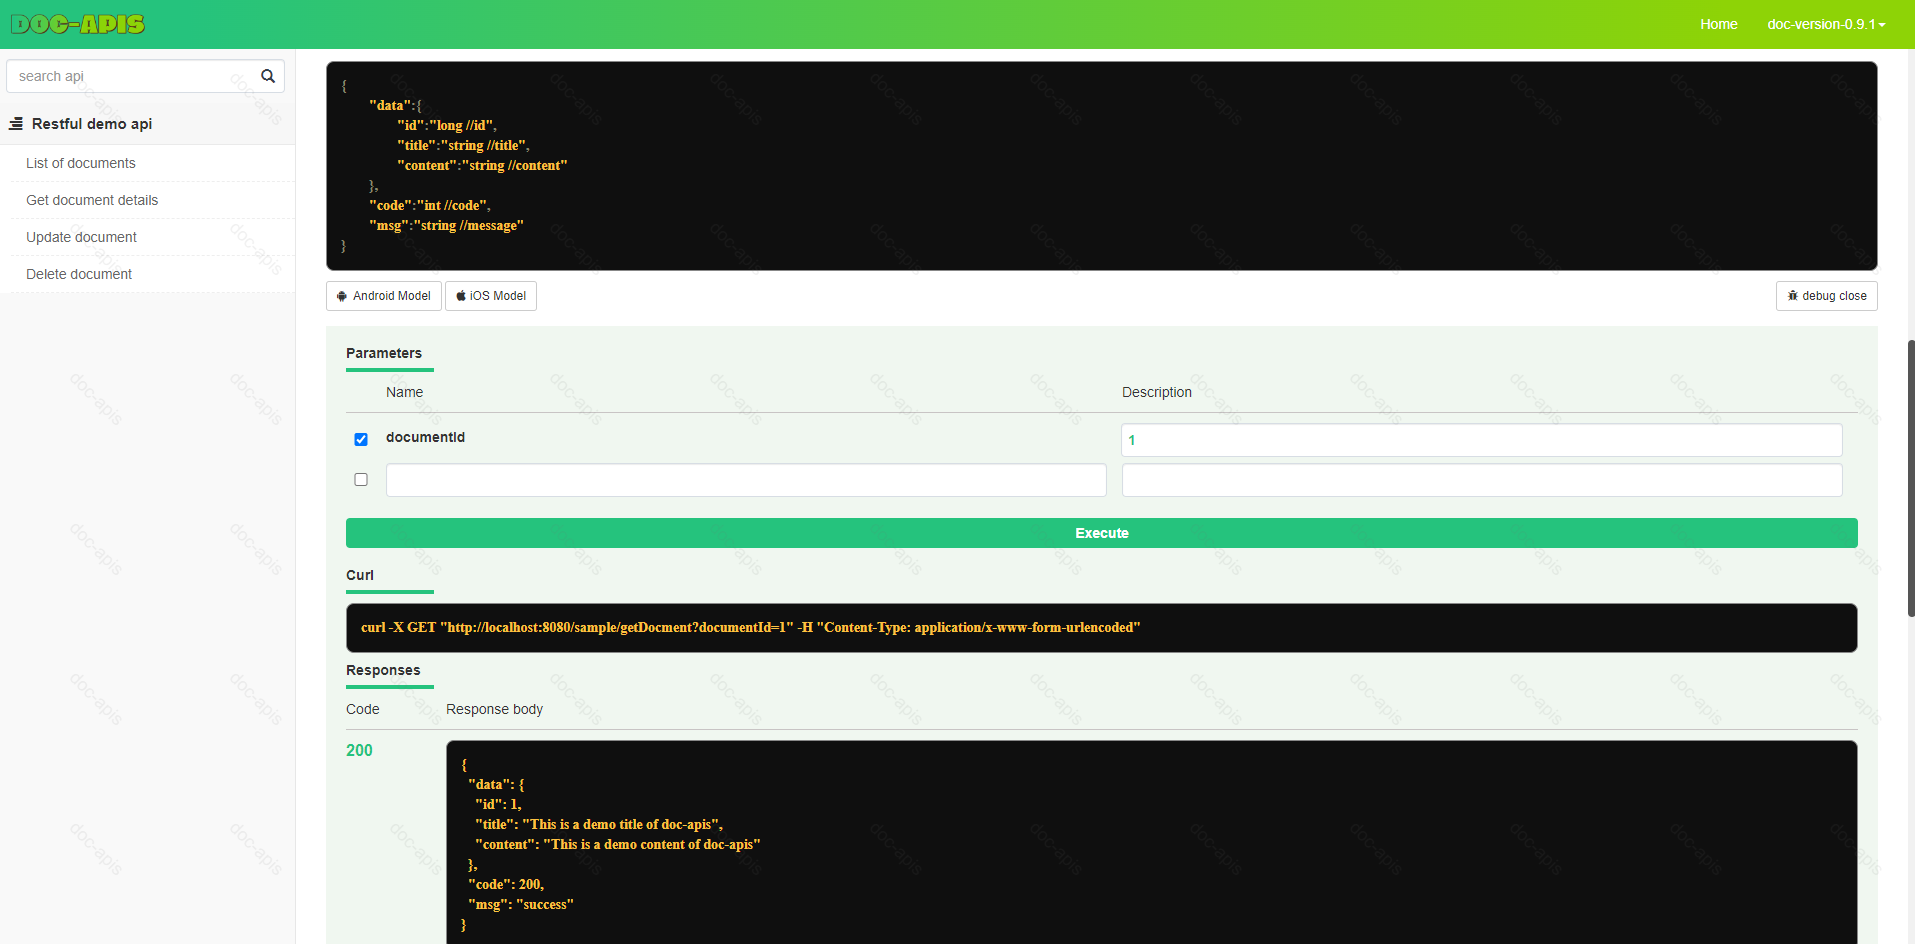
The generated interface documentation looks like this:


tip
For the complete code example, please refer to: doc-apis-test (opens new window) If your project is not a Spring Boot project, you can refer to the documentation in the subsequent chapters.
# Summary
Through these few simple steps, we have achieved the basic generation of interface documentation. To learn more about customized features, keep reading!
